Coming Together
- case bits & pieces -
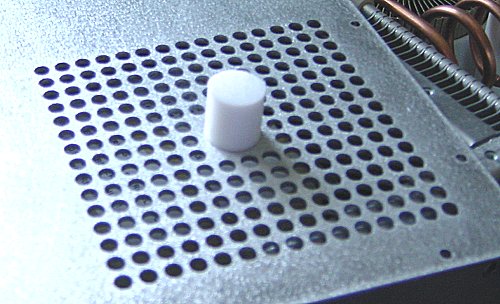
PTFE rod on the inside of the case lid to hold the 88877 in place
The PTFE rod is held in place by a 6mm x M4 countersunk screw.

View from bottom
The small 6-way patch board can be clearly seen mounted on a small aluminium panel just above the bottom of the transformer. The transformer was supplied with longs wire tails! The green wires are the +15v auxiliary supply to the control board and come from the filament transformer in the RF cathode compartment.
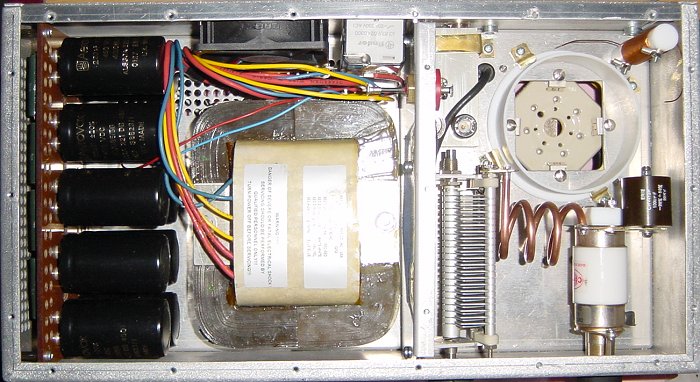
View from top
Again, plenty of length on the HT transformer wires and shows the transformer without the HT rectifier board mounted on top. Everything is quite a snug fit!
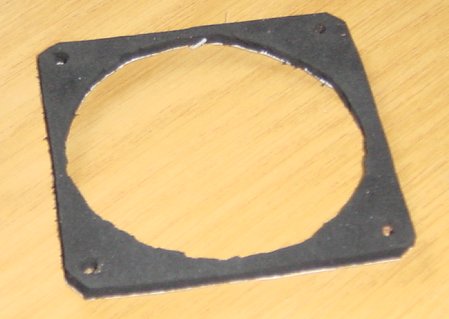
Fan vibration reducer
This is mounted behind the fan to reduce possible vibration. I don't think it's needed as it is very quiet compared to the axial blower.

G3SEK Control Board
The assembled triode control card. I only made one mistake in assembly and that was to mix up the three large white resistors on the left-hand side. Other than that, it worked first time after assembly! I was most impressed and I'm glad I bought the kit not attempted to buy the components individually.