An alternative to the 6M7JHV antenna for 6m / 50MHz
Mounting and tuning
So the antenna is now complete and all that remains is to put them on the tower and try it out!
The first task is to take down the 6M7JHV stack
The old 6M7JHV stack
It's a good job I did because I found the old stub mast that had been in use for nigh on twenty years in a rather bad state! Another winter of strong winds could have resulted in a snapped stub mast!
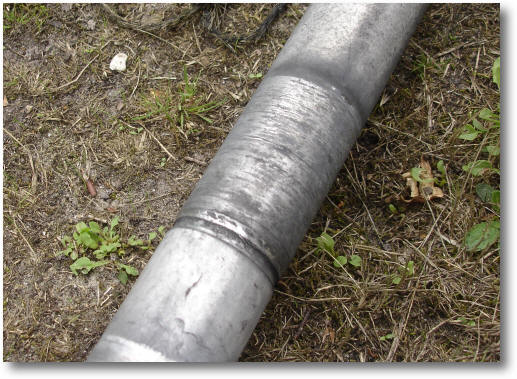
A rather worn stub mast!
I found it best to mount the bracket on the stub mast first and then attach the antenna using the four M8 bolts. I have to say that this is really a two person job and my XYL duly 'volunteered'. Leave the bolts slightly loose so that the antenna can levelled once it has been bolted to the bracket.
Tip: Always use some Vaseline on the screws before doing them up as this prevents the stainless steel screws possibly locking up!
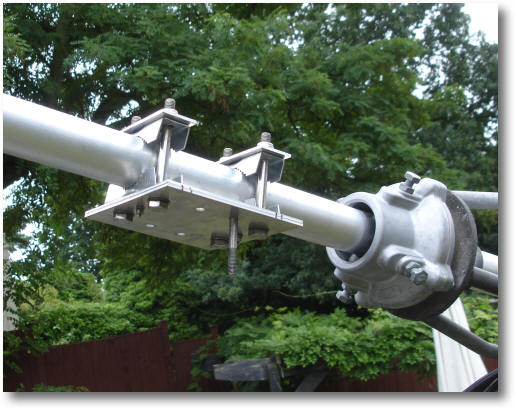
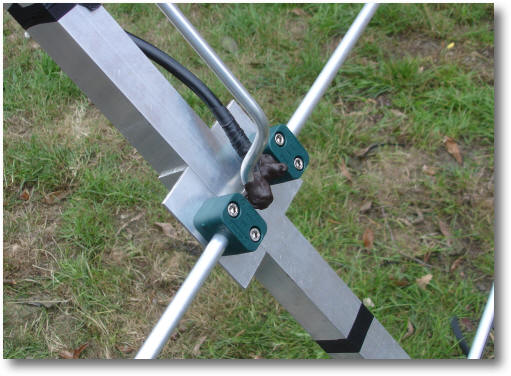
An attached brackets
To tune the antenna bring the reflector down to about a foot off the ground and adjust the loop for the best SWR. The initial dimensions are about right - all I had to do was to increase the width by 3mm on both sides. When testing the SWR I found it best to have the antenna 6 foot off the ground.
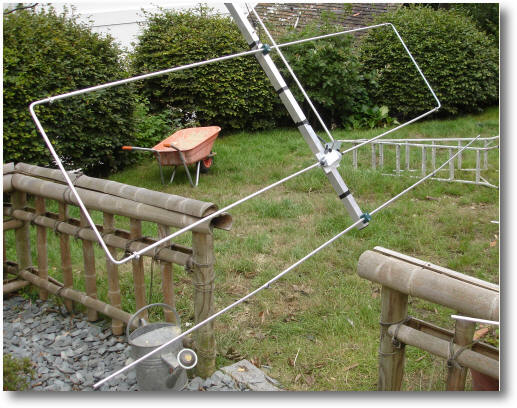
Get the antenna vertical some how!
The antenna pointing skywards
Seal the coax connections with weatherproof compound.
I have seen the coax being placed through a hole in the boom but I'm not keen on that as water might get inside the boom.
Use weatherproof compound to seal the connections
To make adjusting the loop easier, just hook the rule over the far side of the boom and add 19mm!
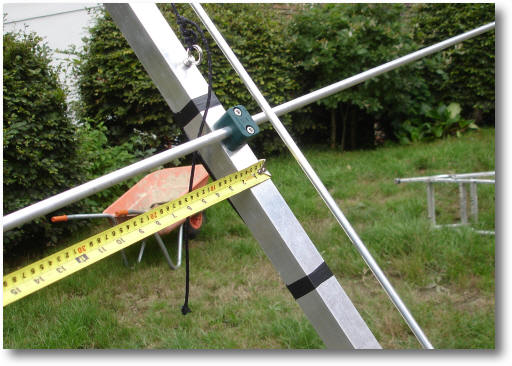
Measuring the loop width
Then measure to the very outside of the loop - 1mm can make all the difference!
Measuring the loop width
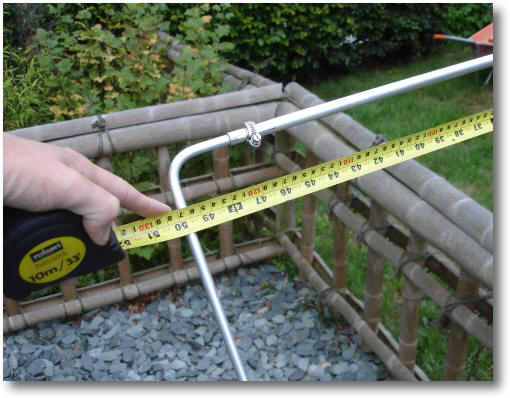
And at the bottom.

The bottom should be the same as the top
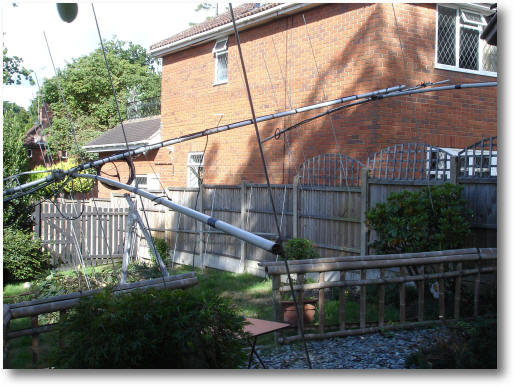
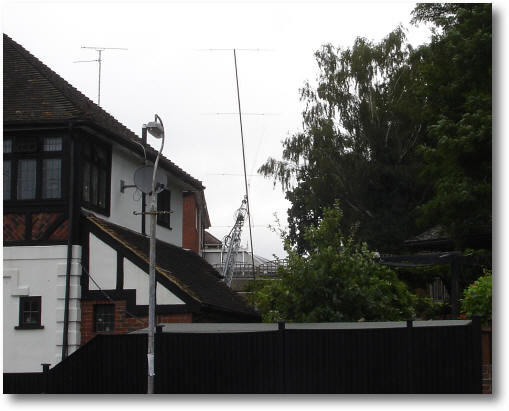
The photo below shows a single antenna up in the air for initial testing. The rat's nest of cables is the phasing harness which was not being used for testing a single antenna.
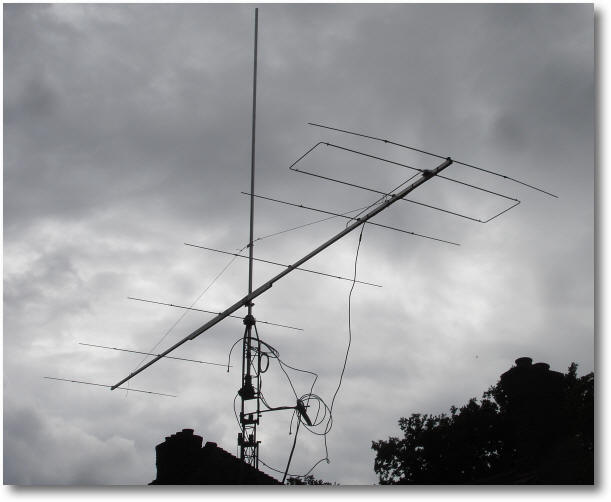
The single antenna up in the air for initial test
I did have one problem! The antenna is slightly too long and could touch my chimney - I thought it might, but was not sure until I tried it. It's not too much of a problem as long as I don't lower the tower more that 6" from the bottom. I'll put in a wooden spacer to ensure I never do this!
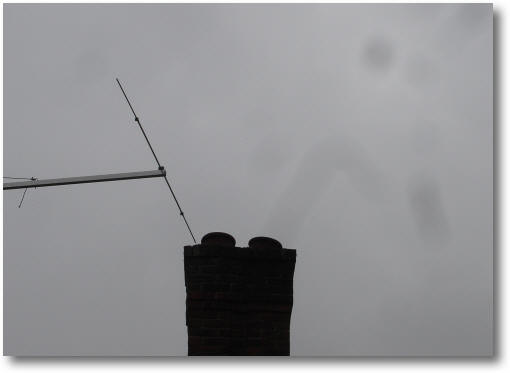
The antenna just catching the edge of the house chimney
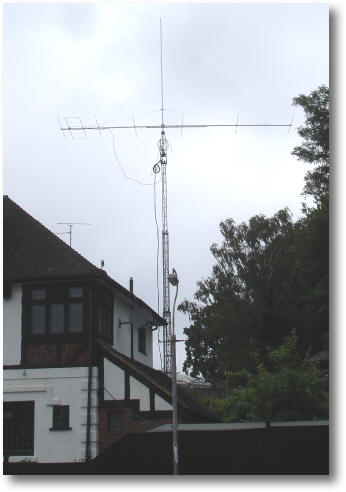
The single LFA2 under test