An alternative to the 6M7JHV antenna for 6m / 50MHz
Making the mast bracket
One of the things Paul and I spent much time thinking about was the mounting bracket to use on this antenna. We both have had problems over the years and we are aware of others who have suffered too.
So what are these problems you may ask?
- It is very difficult to get the brackets tight enough on the 6M7JHV to prevent lateral slippage of the antenna. With my stack, I have had to realign them every
so often when I have experienced strong winds.
- If you do get them tight enough, there is a risk of the aluminium plate bending and thus loosening the boom and leading to problem (1) above. Over time, this
could also lead to an even worse problem - fracture of the bracket plate.
The photo below was given to me by Johan, ON4IQ who suffered a severe breakage on the bracket plate supplied with his M2 6M9KHWs.
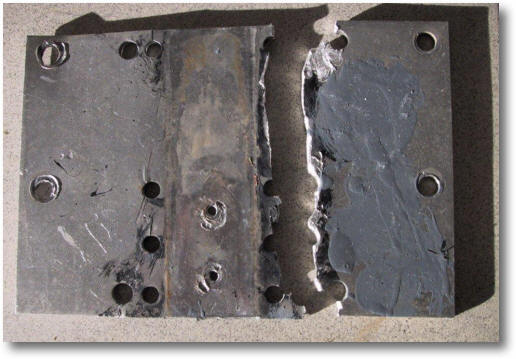
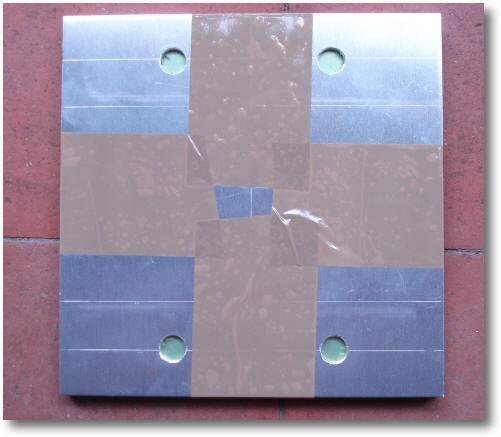
Bracket plate fracture on the ON4IQ's 6M9KHWs
Photo credit: Johan, ON4IQ
The following picture shows a mounting plate as used on Justin, G0KSC's 8-element prototype. Although this is adequate we wanted to come up with a design that would be both strong and prevent movement of the antenna. It has often been suggested that a bolt should placed through the mast and through the mounting plate. Personally, I am particularly not keen on this idea as I believe this would weaken the mast at the point of most stress. This particularly case when two antennas are stacked on a long stub mast.
One of G0KSC's mast brackets.
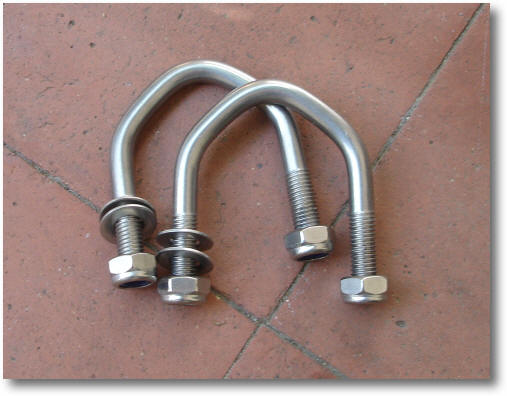
When we first thought about the bracket we bought some M10 stainless steel U-bolts as shown in the photo below. However, we found that when a saddle was inserted - as shown below - there was not enough thread to tighten the Nyloc nut up. Clearly, they were not designed to be used with a saddle! Paul and I searched all over to find a longer stainless steel U-bolt but we came up empty. This led to a complete rethink after Paul talked with Barenco.
The strain release rope support brackets
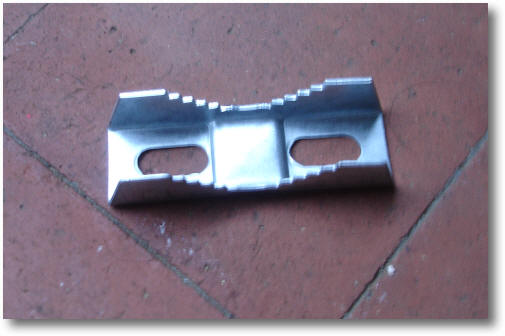
Mast clamp saddle
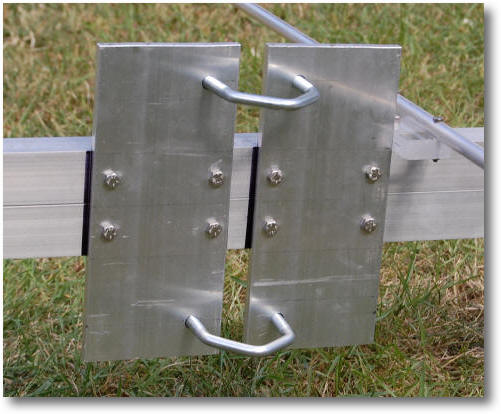
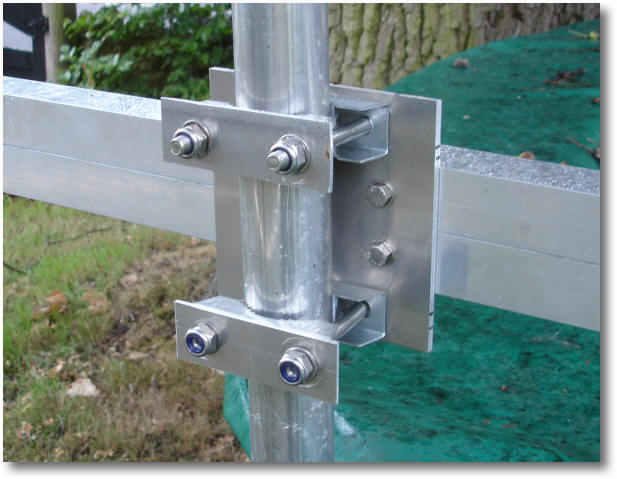
A photograph of the design we came up with can be seen in the photo below.
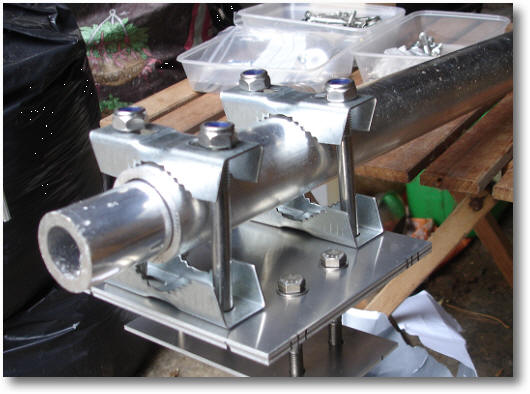
The antenna's mounting bracket.
The design uses two 3mm aluminium plates rather than a single 6mm one to enable flexing of the bracket thus reducing the risk of fracturing. It uses four saddles to completely remove - we hope - the risk of the antenna moving once the bracket bolts have been tightened up. As in Justin's designs, the bracket is bolted through the boom and boom support for complete rigidity.
Now to make the bracket.
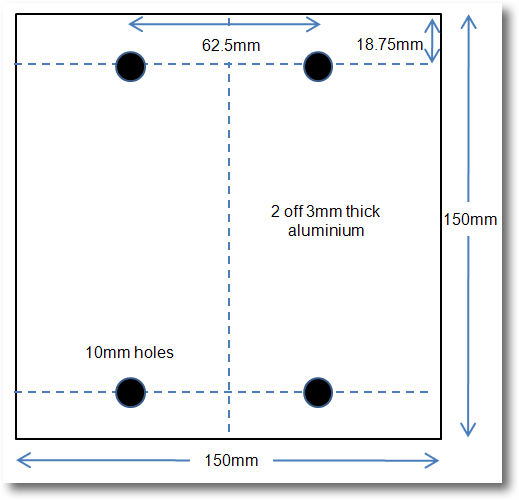
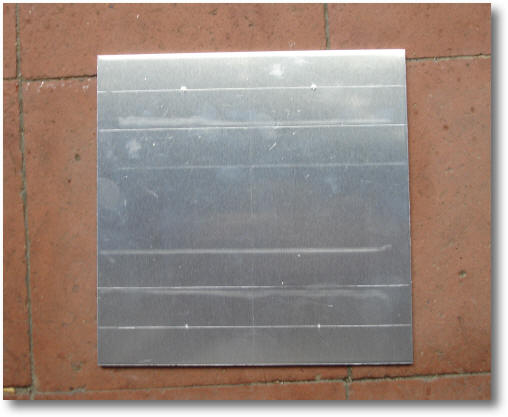
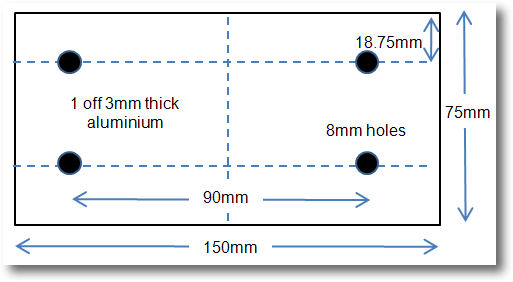
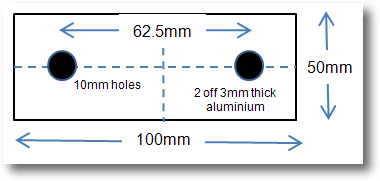
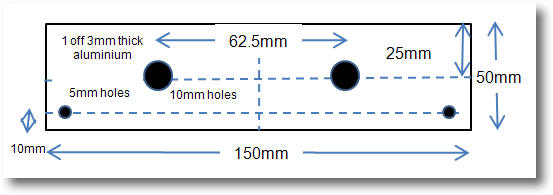
The drawing below shows the dimensions of the main 3mm plates. When you order the 3mm plate from your supplier, they should be able to cut all these pieces for you. They will do a neater job than you!
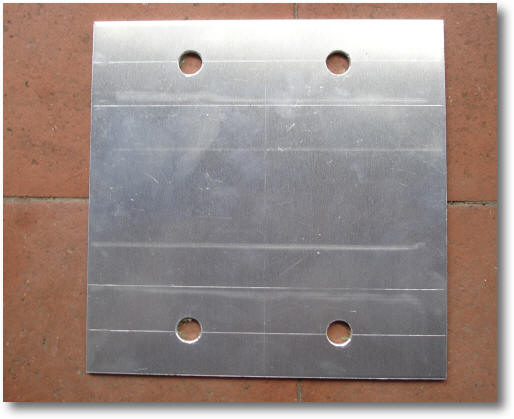
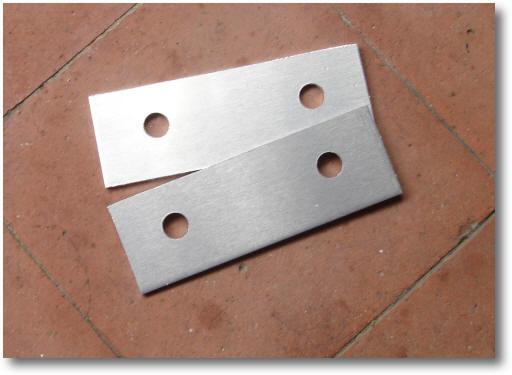
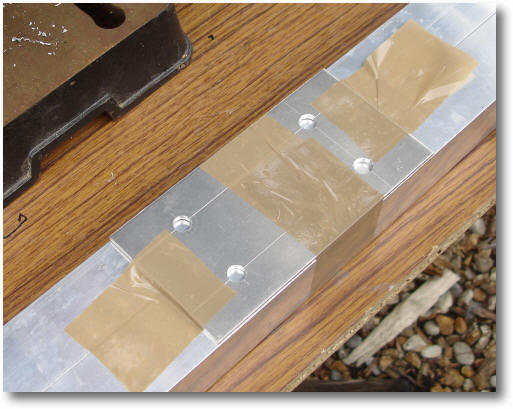
First, centre punch the master plate and drill the four 10mm holes for the four stainless steel M6 bolts as shown below on the photos. Note: if you are only making one bracket then drill both together.
2 required to make 6mm thick plate
Marked and centre punched.
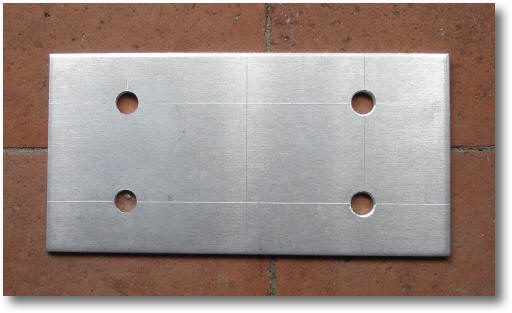
Drill the four 10mm holes for the 4 M10 bolts.
Four 10mm holes for the U-bolts
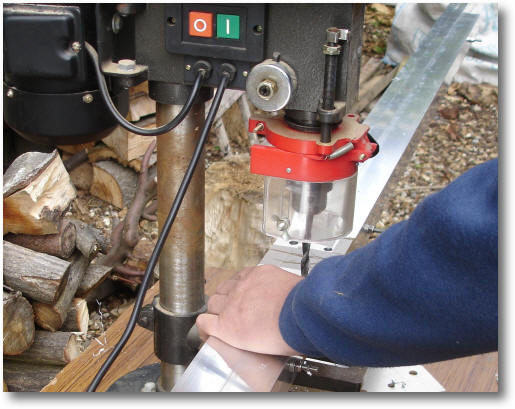
Drill the other plate or plates (if you are making more than one bracket) from the master.
Drilling the second plate
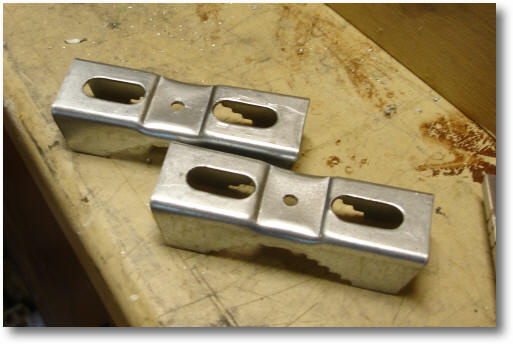
Make the plate that goes on the opposite side of the antenna.
1 required to make 6mm thick plate
Mark out a master please as per the drawing above.
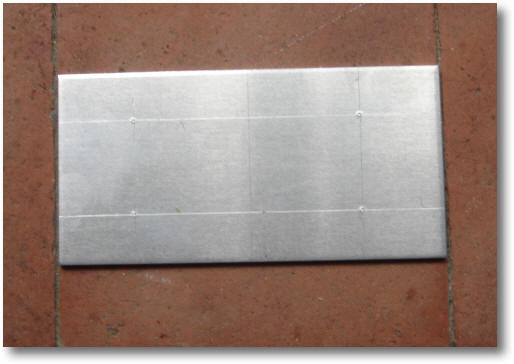
Marked and centre punched.
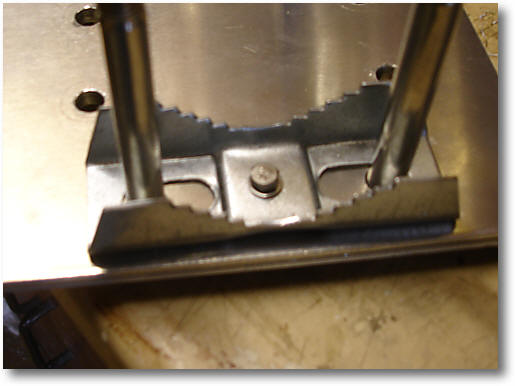
Drill the four 8mm holes for the M8 x 60mm bolts through the boom and boom support.
Four 8mm to mount to bolt the plate to the antenna
Drill through the four 8mm holes in the small plate through the 150mm x 150mm plate .

Drill through the 4 8mm holes.
Paul, G4CCZ, came up with a good idea. It is often awkward when attaching an antenna to the mast as you generally use one hand to hold the antenna while struggling to fit all the bits and pieces together with the other. Paul suggested that we loosely attach the saddles to the bracket to hold them in place - do not tighten the M4 x 20 screws.
4mm holes drilled in the saddles
The saddle loosely bolted to the plate
Two small plates are required to sit between the saddle and the M10 nuts for added strength.
Saddle support plates
The centre of the bracket is placed at the centre of gravity of the antenna which is 550mm from the centre of the boom in the direction of the loop.
Drill four 8mm holes in the boom by using the150mm x 75mm plate as a guide.
User the master plate as a guide to drill four 8mm holes
Drilling the four holes in the boom - carefully!
The bracket can now be screwed to the booms using M10 x 60 stainless steel screws.
At last the bracket is complete!
The completed bracket assembly attached the antenna (mast side)
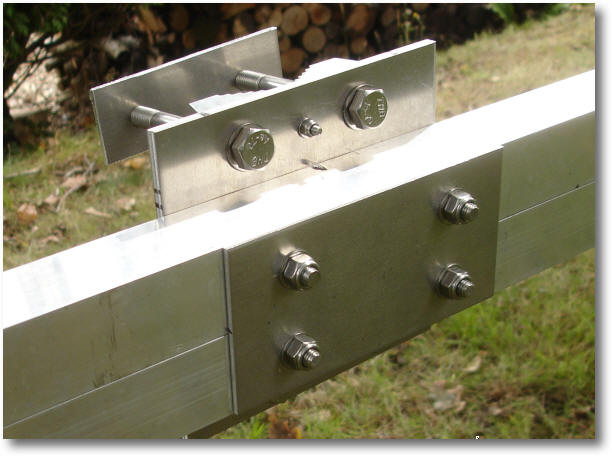
The completed bracket assembly attached the antenna (boom side)
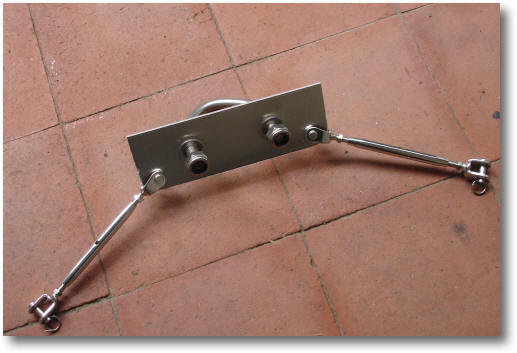
Boom strain relief support
The strain relief bracket.
Cut and drill another small plate to mount the turn buckles. Round off the bottom two corners so as to clear the turn buckles.

Boom strain relief plate
The strain release rope support brackets
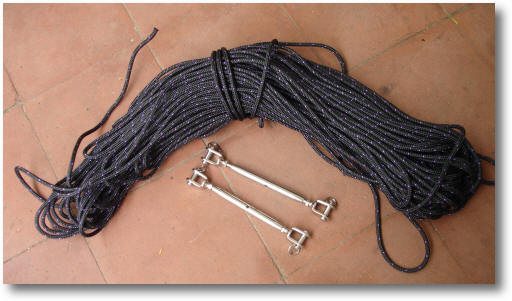
The support rope and tensioners to hold the antenna horizontal
The completed boom strain relief plate that will be mounted 600mm above the antenna
The completed boom strain relief plate
That all the mounting racket work completed!
You can also buy mast brackets from John G4ZTR at Arial Parts.