An alternative to the 6M7JHV antenna for 6m / 50MHz
Making the elements
Our task for the next few pages is to convert these 5000mm lengths of aluminium into a high performance 6m LFA2 beam. The 2" pipe is for a new stub mast to stack a pair of these antennas.
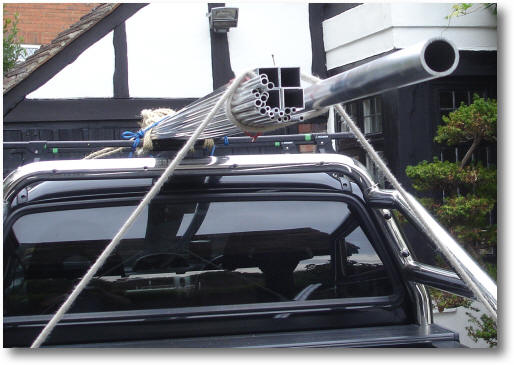
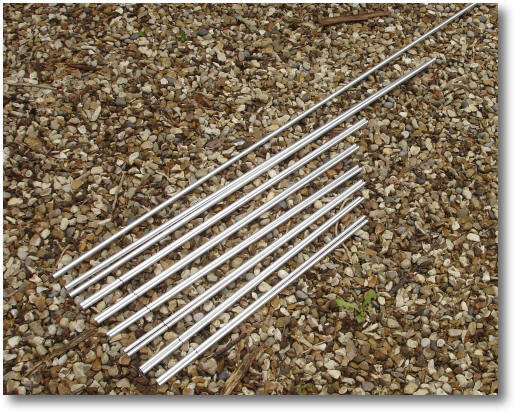
The lengths of aluminium arriving home after a trip round the M25
(the 2" pipe is replace the stub mast for the stack)
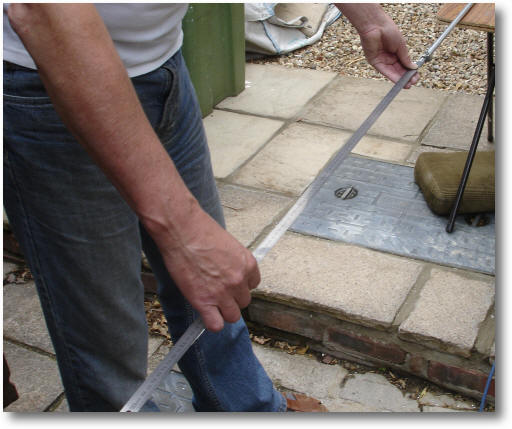
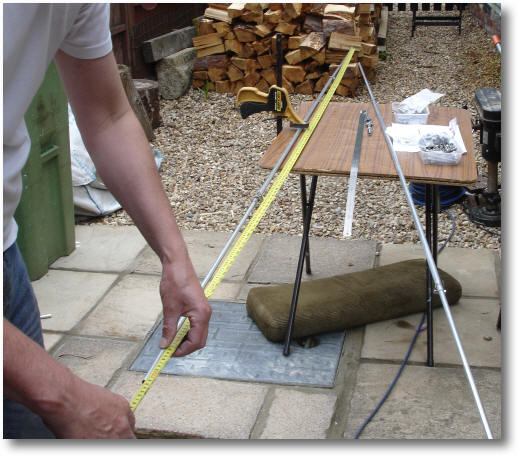
Tip #1: Remember to measure twice - cut once (as I was reminded by Justin, G0KSC!) Even then I made one mistake...
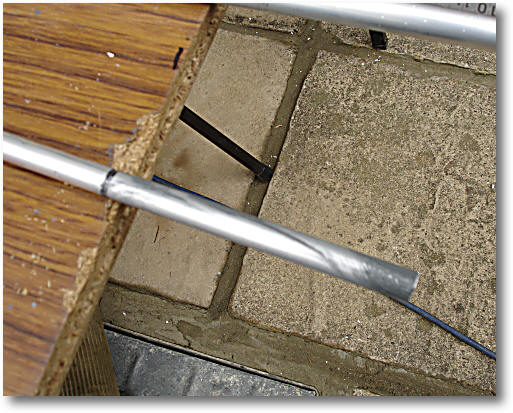
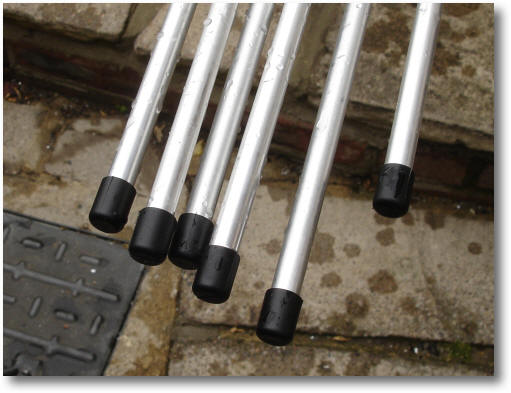
Tip #2: Before we start, there is a little trick as told me by Justin, G0KSC, to prevent a tape rule slipping when measuring the aluminium tube as can be seen in the photo below. I can personally assure you that it saves you hours of frustration!
A little plumber's trick when measuring lengths of pipe
Using a mini pipe cutter to cut the pipe is the only way to go. It produces clean and accurate cuts that require little cleaning.
Tip #3: Use a little piece of anti-slip rubber to hold the tube while rotating and tightening the cutter - this can be bought to use to open tough screw top lids. It will save a lot of muscle ache!
The mini pipe cutter showing how accurate it can be
After marking the length of tube required using the tape rule and scribe, align the cutter with mark and rotate the cutter around the tube while gently tightening it until the pipe falls into two pieces.
Using the pipe cutter to cut the aluminium pipe
As you can see below, the pipe cutter produces very clean cuts which are MUCH better than using a hacksaw.
The pipe cutter creates clean, accurate 90 degree cuts
It only takes a couple of hours to cut all the required pieces.
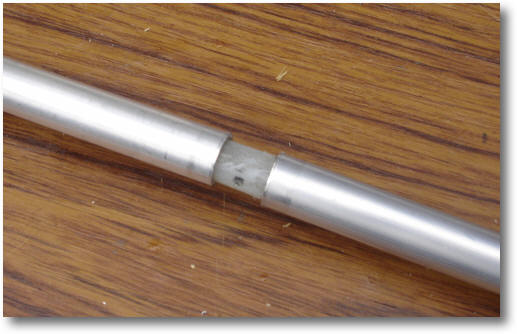
Notice the black marker rings at the bottom of the tubes. These are a rough mark of where the 3/8" element ends slide inside the 1500mm lengths of 1/2" tube by 100mm.
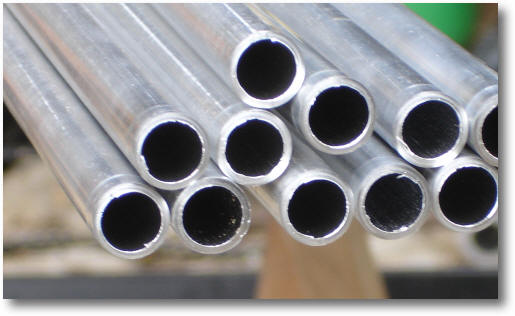
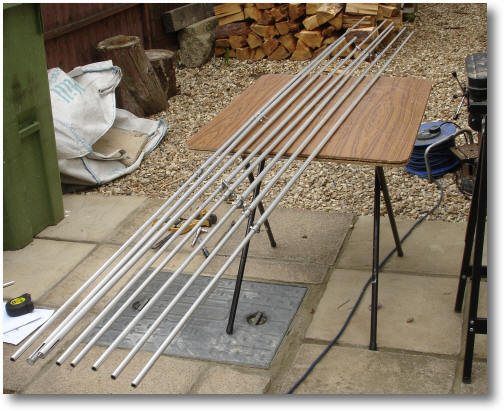
All the 1/2" and 3/8" aluminium bits
(minus the 6 x 1500mm and the loop ends)
Use a band saw to cut slots to a depth of 40mm at the end of each 1/2" element centre and the front element of the loop. The back element of the loop (the driven side of the loop is at the back of the loop) only require slots at one end.
The slots need to be at least 2mm wide so that they clamp tightly to the 3/8" element ends that slide inside.
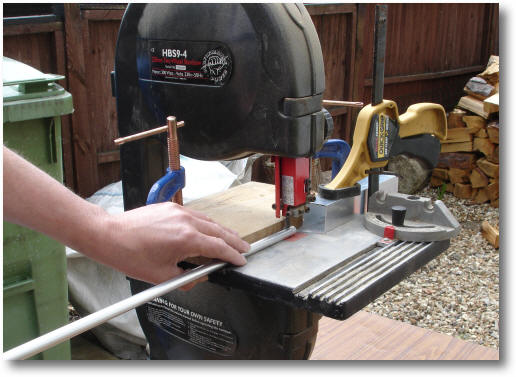
Use a band saw to cut slots
The slots at the ends of the element 1/2" middle sections
We can now assemble the elements. Clamp the 1/2" middle section to a table to hold it steady.
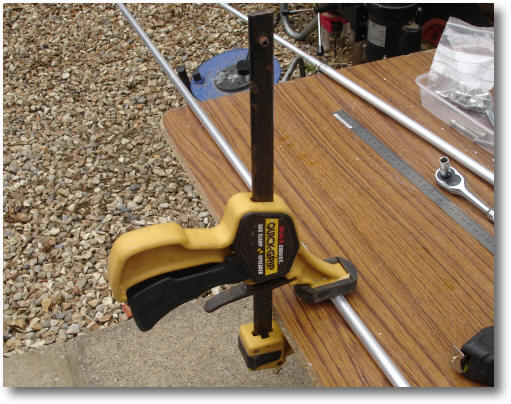
The middle section clamped to a table
Apply anti-corrosion paste to the part of the 3/8" elements that are inserted into the 1/2" tube.
Apply anti-corrosion paste
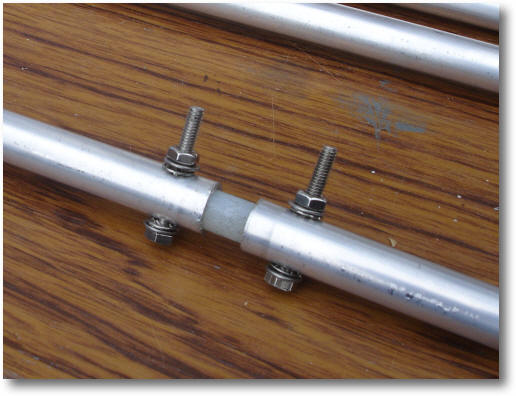
Carefully measure one of the element ends and tighten the hose clamp clamps using a socket wrench.
Accurately measure the length of one 3/8" element end
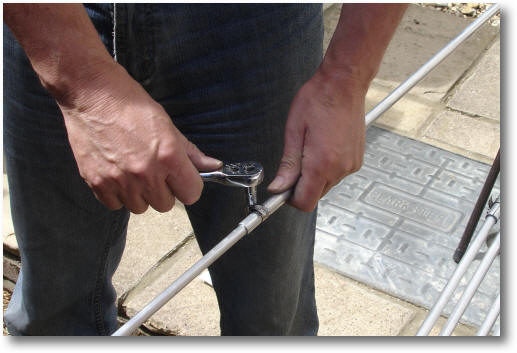
Tighten the hose clamp
Using the tape rule to accurately measure the full length of the element and adjust until correct. Then tighten the second hose clamp. Repeat for all the elements.
Measuring the full element length
To create the driven end of the loop, push fit the 10mm nylon or PTFE rod. It is very likely that you will have to sand this down until its a snug fit. The ends of the tube should 10mm apart.
Joining the driven element part of the loop
Drill two holes through the element and use two stainless steel M4 x 40mm screws which the feed cable and balun will be connected to.
The driven element detail
These are all the elements and the front section of the loop now all completed. Time to recheck their lengths!
All the elements completed
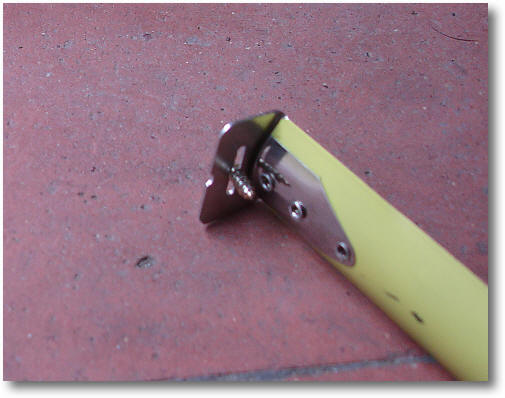
Now pop on the 3/8" end caps.
3/8" element end caps.