|
Upgrading and replacing my domestic central heating boiler - A 'how it was done' and 'what were the results' guide - For many years I decided that the cost of upgrading my domestic boiler was uneconomical as it had a payback period of over five years. My existing Netaheat Potterton boiler was installed in the late 1980s and according to the government's boiler efficiency database was only 60% efficient! Even so, it would take a long time to recover the expense of an upgrade.
In early 2013 I changed my mind and decided that it was time to upgrade. The main reason why I changed my mind was that I wanted to keep the central heating on all day during really cold winter days and there was NO possibility of doing that with the old Potterton boiler due to extremely high running costs.
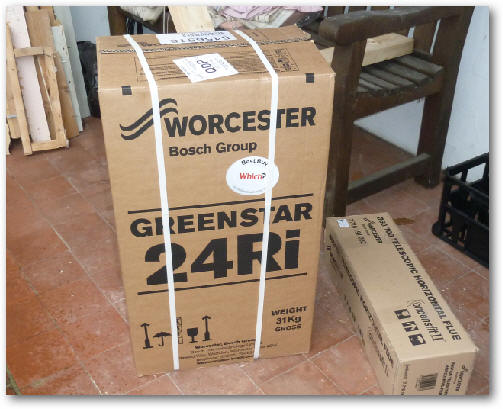
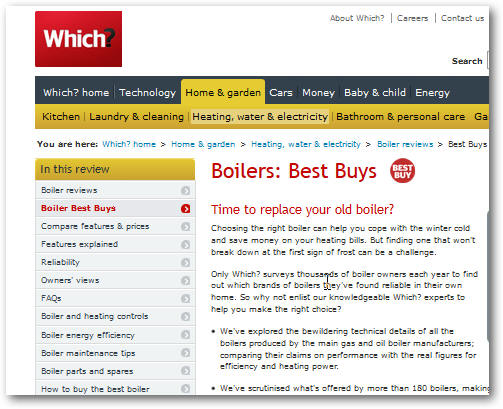
Well really there was only one place to go for that sort of information and that was the Which consumer web site which rates boilers and the quality of manufacturers' customer support. There are a good many boiler manufacturers but it was clear to me that Worcester Bosch was the right manufacturer fore me. Of course, you may decide differently! My house
is a traditional gravity fed system with a cold water tank and a central heating
header tank in the attic. I wanted to keep this and not change to a combi-boiler
where hot water is heated as required.
The next step was a visit to the Worcester Bosch web site to select the boiler. They have a helpful 'Find a Boiler' page that guides you in selecting the right boiler for your circumstances. I eventually selected the Greenstar 24RI as the most appropriate model for the size of my house. They also had a 'Select a Worcester Accredited Installer' page that can be used to find a local installer. This seemed to be a very logical thing to use as you do hear about many 'cowboy' plumbers these days!
Another factor was that I
believe that using independent installers will result in a much better
cost- competitive quote than those provided by one of the big 6 gas
suppliers.
After looking at the list of local installers I eventually chose Classic Heating Ltd. I'm sure that which ever one I picked would have a done a good job at the end of the day. One influencing factor was that the company had many 10/10 feedbacks of Checkatrade. I obtained a quote which I thought acceptable and we fixed a day when they would roll up and install the new boiler.
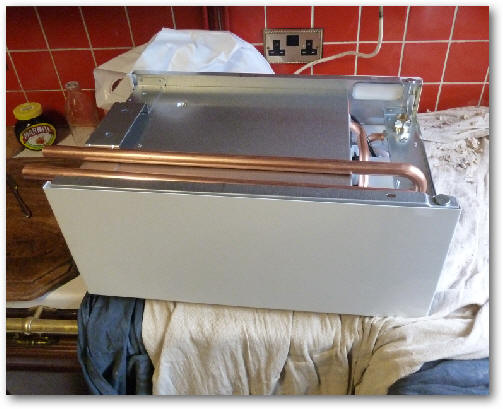
The day arrived in March 2013! The first task was to unload the new boiler which seemed a lot smaller than my old Potterton Netaheat!
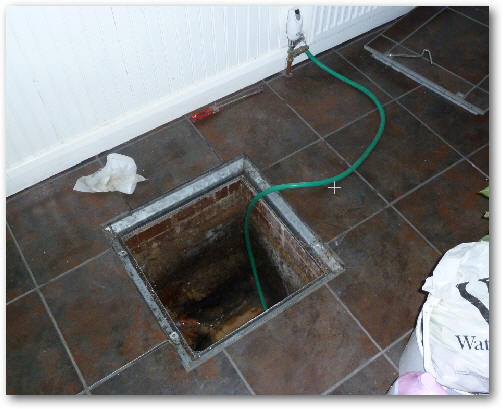
Next was to drain the central heating system after the cold water mains feed was turned off where is enters the header tank.
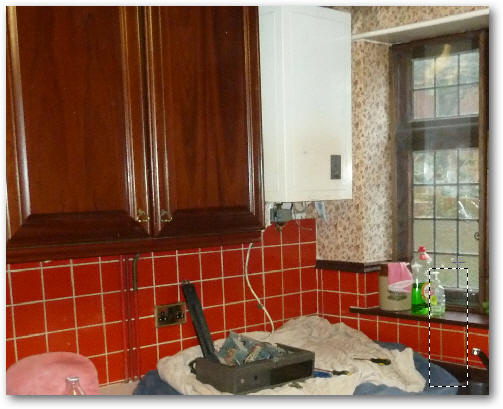
The easy part I guess - stripping out the Potterton Netaheat control card and associated equipment.
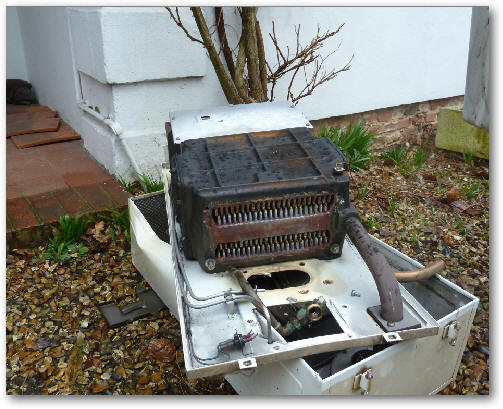
All it seems to be is a cast iron tank warmed by gas flames. I guess that was what boilers used to be?
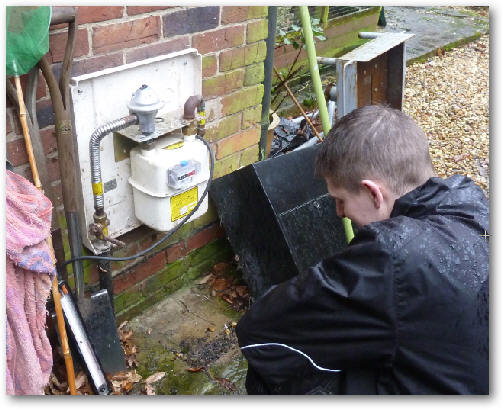
Checking for any gas leaks prior to the upgrade on the outside gas meter.
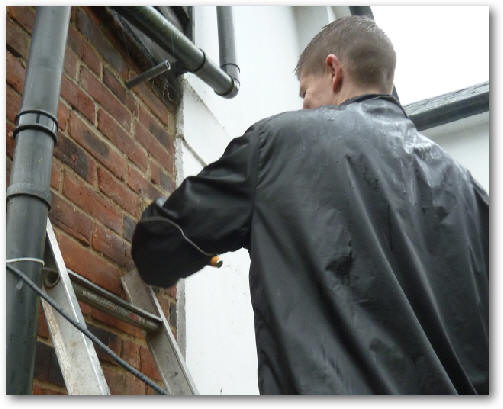
Removing the old external vent.
The Potterton Netaheat is now just a pile of scrap. I suppose the installer can make a few Pounds by returning it to a local recycler.
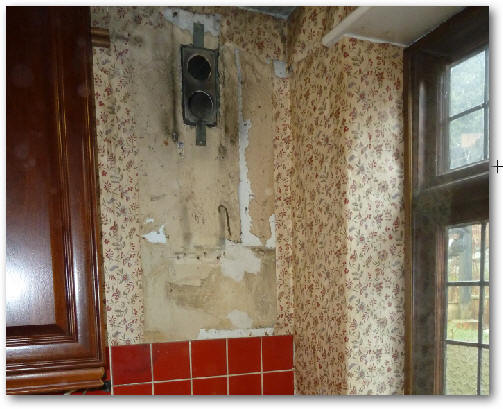
Just a bare patch now on the wall and a lot of messy wallpaper!
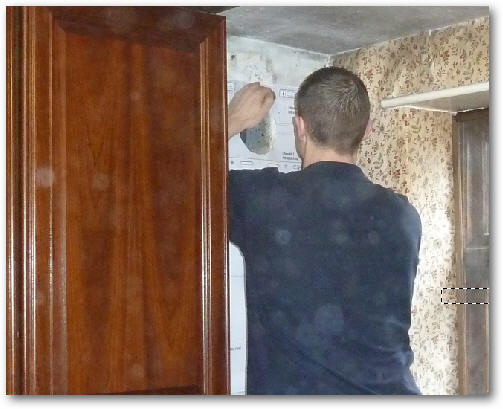
Marking up the position of the new boiler's mounting holes using the supplied paper pattern.
Adding the new 22mm copper water flow and return pipes.
Soldering the right-angle joints so that the new pipes will mesh with the existing flow and return pipes.
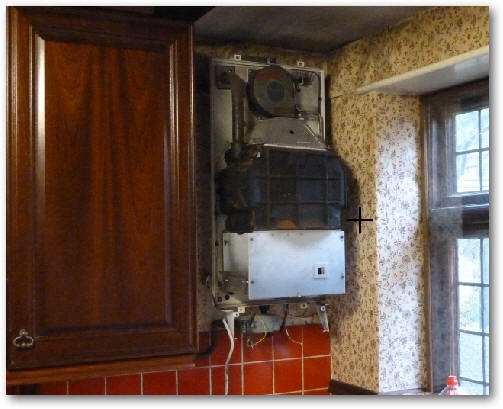
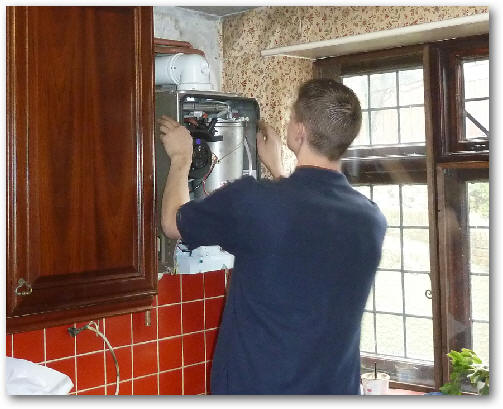
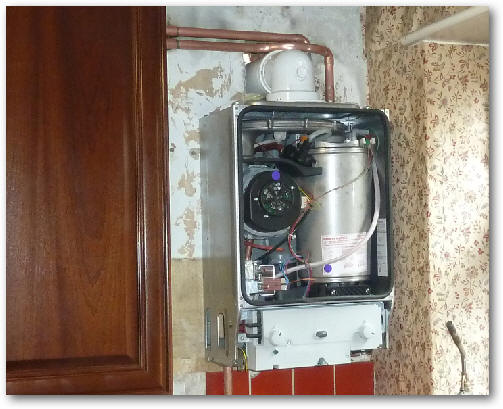
Mounting the new boiler whose internals are dominated by the heat exchanger and fan.
The new boiler is now connected to the existing pipe work. Of course, everything is on the opposite side to that of the Potterton Netaheat boiler!
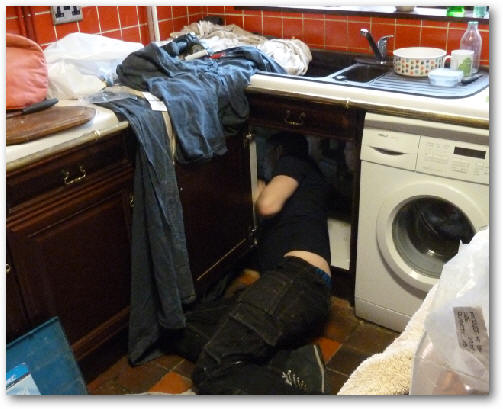
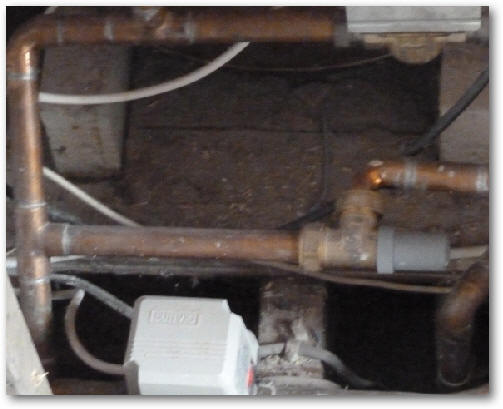
Now the awkward job of connecting the new boiler to the gas meter. The new one uses 22mm copper pipe whilst the old one used just 15mm. Also being plumbed in to the waste pipe is the plastic condensation pipe which drains water to the house drainage. This was all a bit awkward to install as you can see.
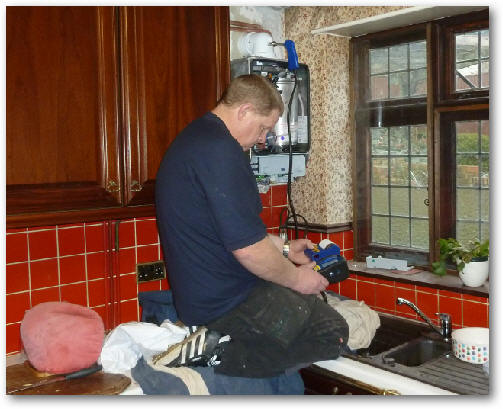
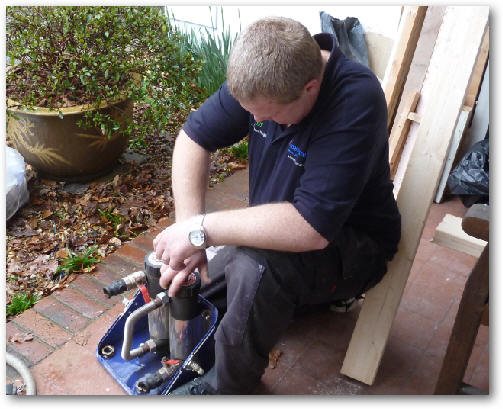
Once the central heating system has been refilled and the boiler fired up then the boiler's CO2 count has to be measured to ensure that the boiler is working correctly.
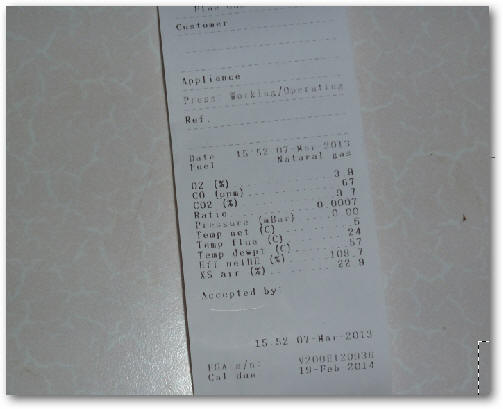
An automatic report is created for the householder and is supplied to Worcester Bosch.
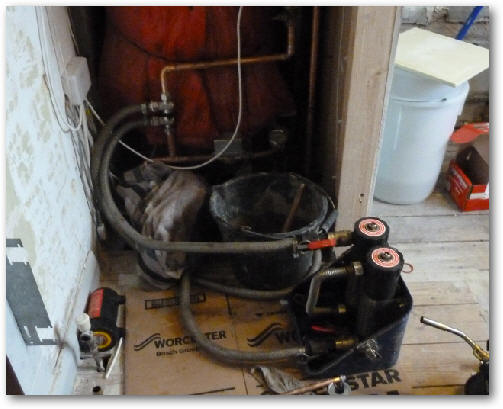
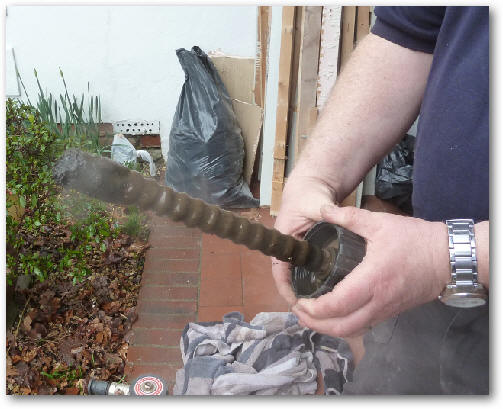
A final task was to use a MagnaClean system to remove as much of the accumulated metallic black sludge as possible after the upgrade.
After the system has been run for half an hour the MagnaClean system is removed.
A lot black sludge can be seen attached to the MagnClean's magnet.
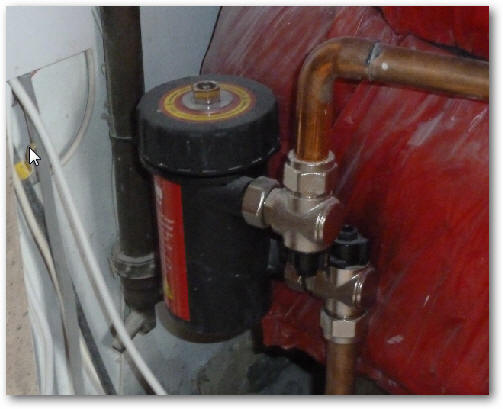
I also had a professional MagnaClean unit permanently fitted to my system and it will now become part of the annual service to clear out collected sludge.
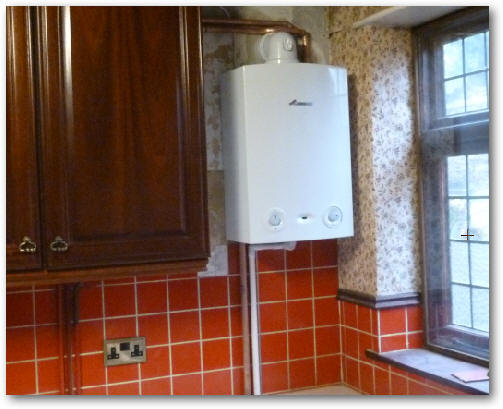
The completed upgraded boiler. I have to say that it is considerably quieter than the old Potterton Netaheat boiler even though on a cold day the house looks like Queen Elizabeth II with the amount of stem billowing from the vent!
There are a few additional changes that were made to the system caused by new building regulations and Worcester Bosch specifications and conditions of the guarantee:
The first was that a flow bypass valve was needed to ensure a minimum level of water flow through the primary circuit of the heating system when both the central heating and the water heating valves are closed. This was not needed on the old system as the boiler was more tolerant.
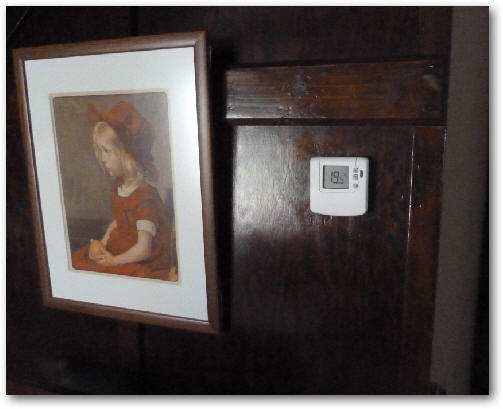
I did not not use a central thermostat located in the hall with the old system. Indeed, I used to have the hall radiators turned off during the day controlled by ETRVs to reduce gas usage. However, a central wall mounted thermostat is now demanded that is directly connected to the boiler so that the boiler is actually turned off when all the room eTRVs and the hall have reached their set temperatures. This necessitated the removal of the eTRV on the hall radiator so it is always on and controlled by the wall mounted thermostat. Because we are now heating the hall it will be quite difficult comparing gas usage on a like-for-like basis before and after the upgrade. I chose a battery operated Honeywell DT90E digital thermostat which only cost 25 UK Pounds.
So now the crucial question to be answered is: "Does it use less gas?" It has increased... The reasons why gas consumption increased after the boiler upgrade: Up until the time of the upgrade in March 2013, I used eTRVs on EVERY radiator in the house including the hall. The hall is very large and is like two normal rooms in size really, so I used the eTRVs to turn heating in the hall off during the evening. This reduced gas consumption significantly but meant we had to rush from room to room as the hall was really cold! The upstairs toilet did not have a TRV or etrv attached. The reason for this was so that flow was maintained through the boiler when all the eTRVed rooms were up to temperature. The downside of this was that the temperature of the water in the pipes was held high all the time that the boiler was switched on. The reason for this was that water temperature was controlled by the thermostat in the boiler. This is a very inefficient way of running things though this was perfectly normal back then. A modern system MUST have a room (in my case the hall) with a wall thermostat that directly controls the boiler by switching it off when that room gets to temperature thus allowing the water in the pipe work to cool down. This also prevents the boiler 'hunting' (the boiler often turning on and off). The direct consequence of this was that I HAD TO heat the hall, which is much more comfortable of course, but does significantly increase my gas consumption. There is a way round this and this is by using a wireless thermostat system ( such as the Honeywell Evohome system) that monitors each room individually and only when all rooms have reached their set temperatures does the boiler turn off. This means that I would be able to go back to how I had things before and have the hall at a lower temperature than other rooms downstairs. I have now started experimenting with an Evohome system so I will let you all know how I get on with it! |

 The
first step was to choose which boiler manufacturer to select as it was important to
obtain one that had a high degree of reliability and would last for many
years.
The
first step was to choose which boiler manufacturer to select as it was important to
obtain one that had a high degree of reliability and would last for many
years.