
The Case Arrives!
The ADD Precision, the guys that made the case
There is nothing like a nice new virgin case ready to be drilled. It makes building amps easy as all you need do is the fun bit of assembly!
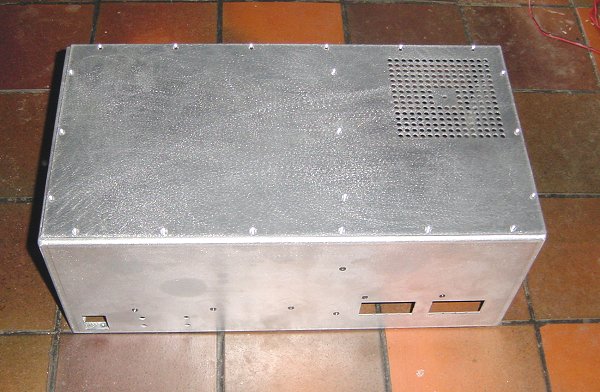
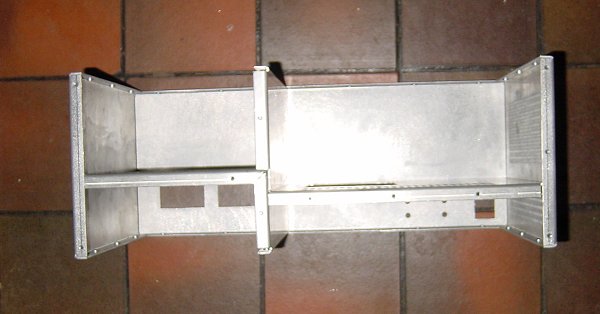
Top & front view
Everything is held together by 6mm x M3 countersunk stainless steel screws. The holes on the top RHS side of the lid are to allow air to exit the case from the 8877 blower. A small piece of 20mm PTFE rod is screwed to the hole in the centre of the grid to hold the 8877 in place.
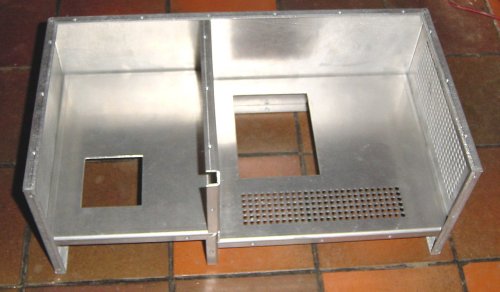
Top & back view
The hole on the left is for the 8877 socket and the hole on the right is for the HT transformer.
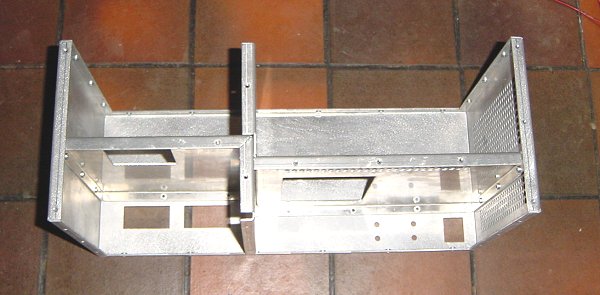
Back view tilted up
Bottom & back view
Back view with back panel removed
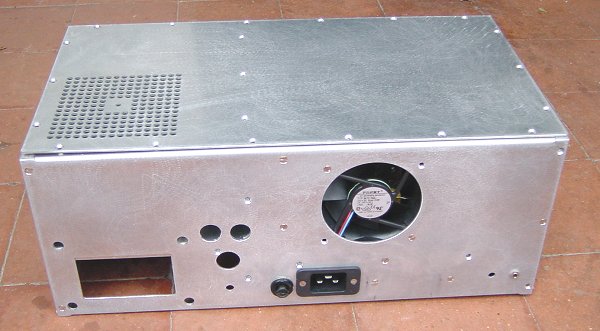
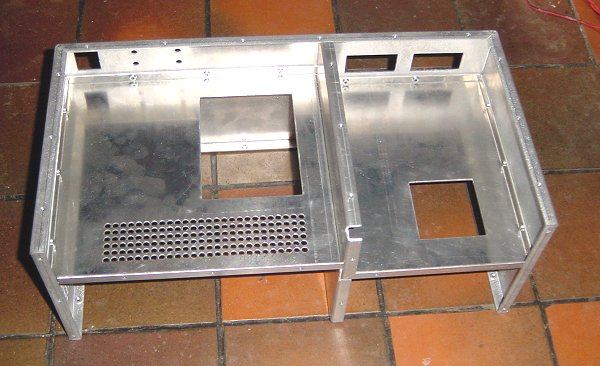
Back view
The hole on the bottom LHS side aligns with the blower which is held to the chassis by four M6 cinch nuts in the chassis and four 15mm x M6 pan head screws. The fan can then be easily taken off for transport. My only mistakes in making the chassis was that I accidentally used a 16-amp IEC inlet socket (see the earth pin is horizontal!). I had to take this out and replace with a standard socket which is a little smaller, thus the hole was too big. The lower of the three holes is used for the 3-way plug and socket to supply mains to the blower. This coincided with the bent down edge of the the RF deck inside of the case - I had to do a bit of filing there. Can't get everything right I suppose!